“This post may contain affiliate links, which means I receive a small commission, at no extra cost to you, if you make a purchase using this link.”
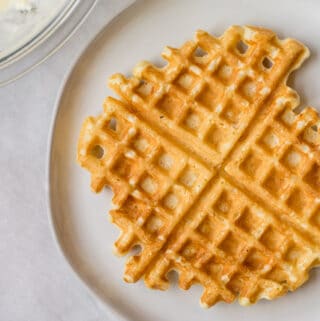
This is one of those recipes that everyone should keep taped to the inside of their recipe binder. These waffles are crispy on the outside and soft on the inside. And because they are so simple to make, you’ll want to make sure your freezer is always stocked these delicious homemade frozen waffles.

“This post may contain affiliate links, which means I receive a small commission, at no extra cost to you, if you make a purchase using this link.”
Why you should make these now!
Now, I’ve played with a ton of homemade waffle recipes, tweaking things here and there, but they never came out as good as this one from American’s Test Kitchen Cookbook. I’ve made a few tweaks to the recipe to make it even simpler than the original.
It uses ingredients you have on a hand, and a method that’s so easy you could quickly teach your kiddos to make waffles and be off breakfast duty forever!
I don’t know about you, but I never have buttermilk on hand, but always have lemons. We’ll make our own buttermilk substitute for these waffles. The other trick to crispy, yet fluffy homemade waffles is NEVER over mixing.
Ingredients

A few notes on the ingredients:
- If you don't have lemons, but have buttermilk, feel free to substitute the milk and lemons for regular buttermilk.
- You can always use a combination of flours, but if you are looking to use whole wheat flour, I would use white whole wheat or a combination of whole wheat and all purpose.
- You want the butter melted and pourable, but not scorching hot
Simple step by step instructions
You'll start by warming up your waffle iron. You want it hot and ready when the batter is done.
Then, we are going to make the "stand-in" for buttermilk by mixing your milk and the lemon juice in the measuring cup. Let that mixture stand while you mix together the dry ingredients.

In a large bowl, combine the flour, baking soda, salt and sugar and whisk them together.
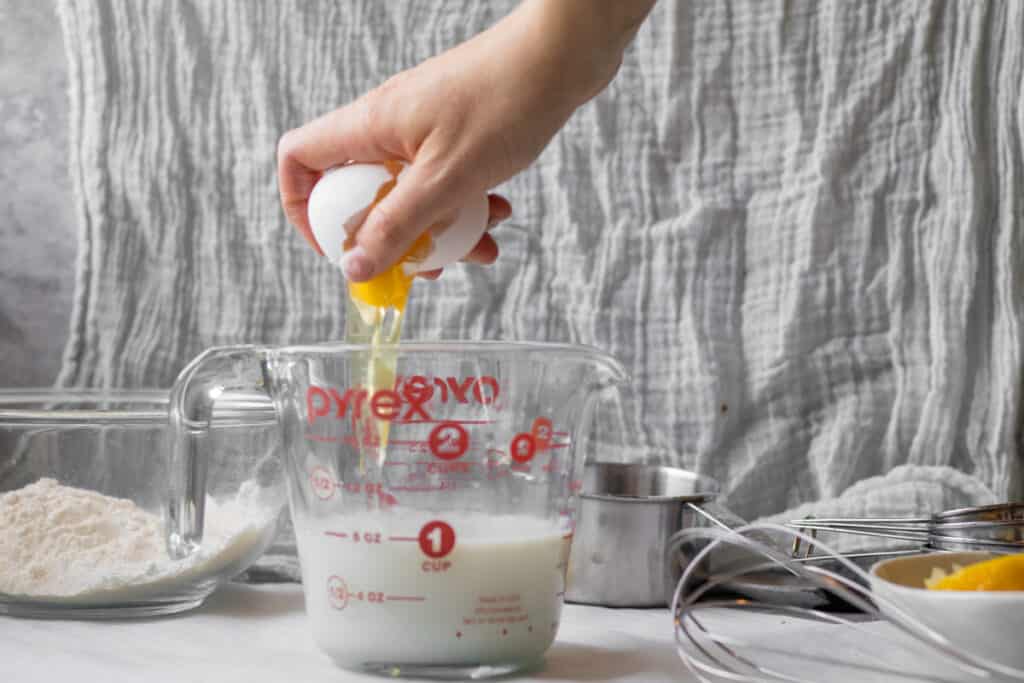
To the milk and lemon juice, add the eggs, and melted butter and whisk that together.
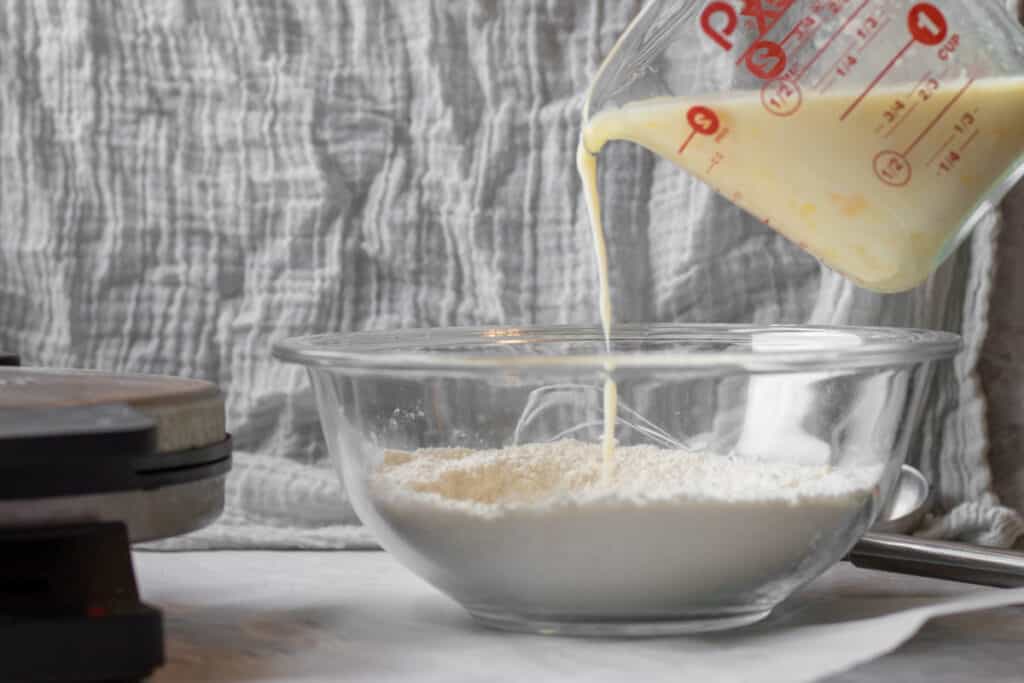
Then, slowly pour the wet ingredients into the dry ingredients and mix really gently until everything is just incorporated. Lumps are okay here. You really don't want to overmix this batter if you want fluffly waffles!
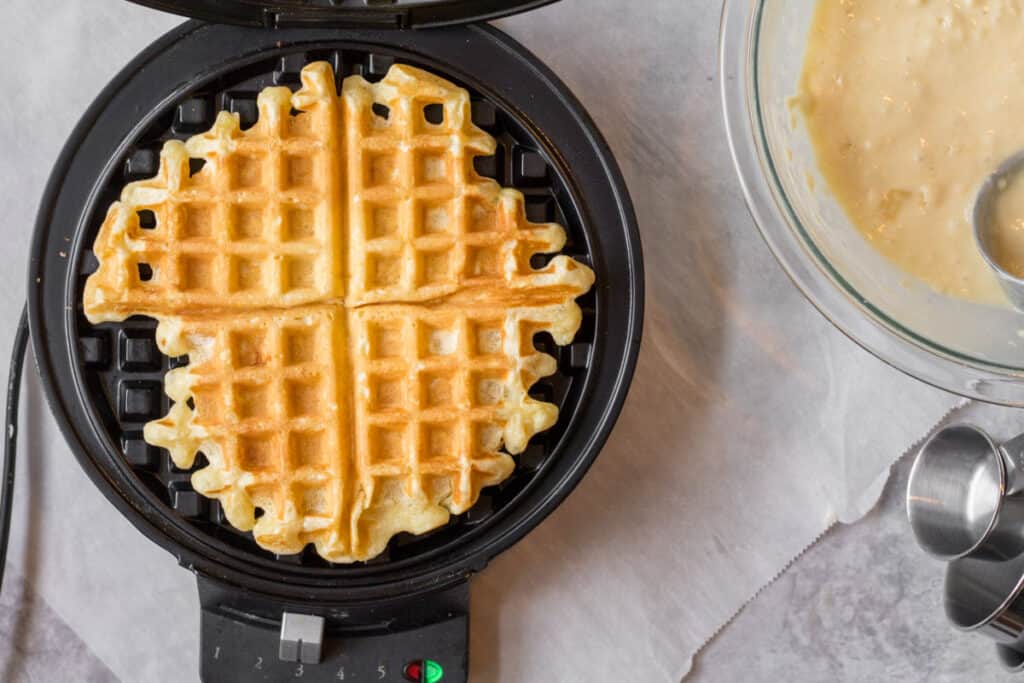
Now, follow the directions for you waffle maker and cook your waffles to perfection. Once done you can choose to eat them or prep them for freezing. I always make a double or triple batch of homemade frozen waffles since I know a few will get eaten while I'm cooking...
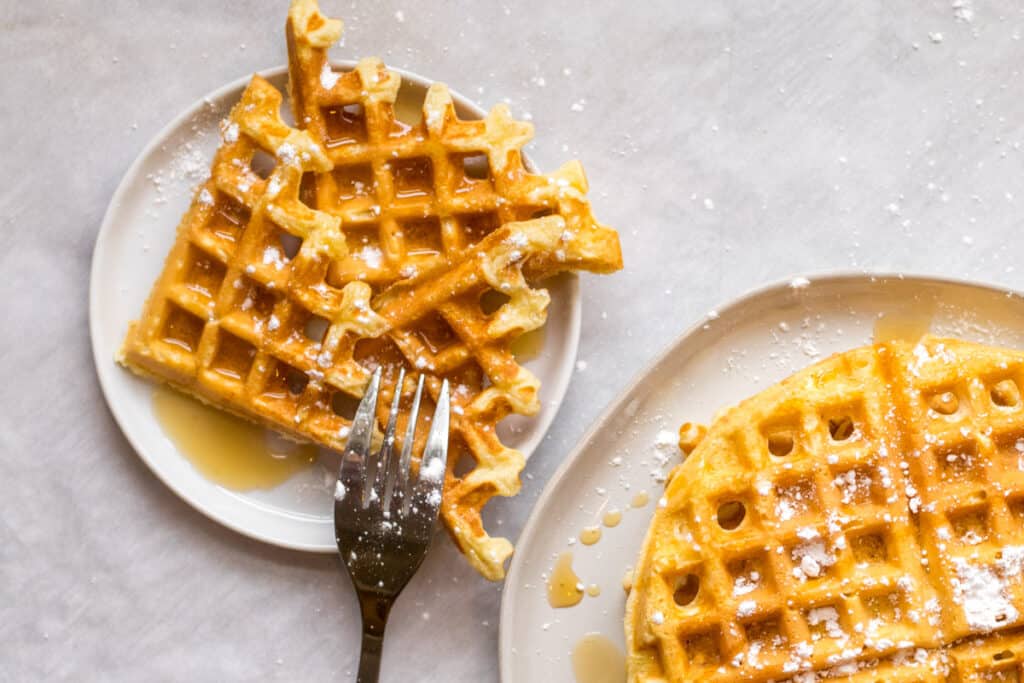
Then freeze the waffles in air tight zip top bags and just pop a frozen waffle into the toaster when you are ready to enjoy! Top with your favorite toppings for breakfast in a flash.
Want to warm up more than one at a time? Lay them flat on a baking sheet and put into a 300 degree oven until just crispy, 5-8 minutes from frozen.
FAQ’s, Tips and Tricks
I think there are two different waffle makers that work well for these. One is the simple circle waffle maker. I own this classic (and super simple) one and this rotating belgian waffle maker is the one I dream of (did you have these in your dorm cafeteria too?).
This square plated waffle maker is good for serving a crowd as well. They are also a good size for reheating your waffles in a toaster oven. They can easily be portioned out for little and big kids and adults, too.
You can also use something like this tiny waffle stick maker to make super easy to dunk waffle sticks. They are great for little hands and fit perfectly into a side dish of maple syrup.
Freezing waffles is quite simple if you prep a few things.
First, you’ll want to have a large sheet tray that you can store them on while they cool down.
Then, you’ll need gallon size zip top bags for storage. I like to also use either parchment paper or wax paper to keep them separate, so I can easily pull out just what we need for a quick breakfast.
There are two methods to freeze these:
-- Flash freeze them on a sheet tray and then move them into a zip top bag for storage.
-- Cool and stack with a separator (parchment paper or wax paper) and then put into a zip top bag and freeze that way.
I like to use the second method because I sometimes forget about things I’m flash freezing (oops!) It also ensures that nothing spills on them and they don't pick up any funny smells from other things in the freezer.
A few more tips:
- If you don’t want to freeze the waffles ahead of time, but still want to make waffles quickly, make big batches of the dry ingredients and then just add the liquid ingredients when you are ready to cook.
- To reheat the frozen waffles you can either put them in a toaster oven, a pop up toaster or in the regular oven. Either way, you don’t want to overcook them or you’ll have super crispy waffle chips instead of soft fluffy waffles.
- Double this recipe easily. When you make a big batch of these to keep in the freezer you’ll life gets really simple. Just sit back and enjoy a homemade iced mocha or coffee smoothie without interruption while your family feeds themselves breakfast!
Looking for other breakfast recipes that freeze well? Check these out!
When you try this recipe and love it 😍 let me know by leaving a comment below or 5 ⭐ rating!
📖 Recipe
Simple Homemade Freezer Waffles
Ingredients
- 2 cups all purpose flour
- 1 teaspoon salt
- ½ teaspoon baking soda
- 2 tablespoons sugar
- 1 ¾ cup milk
- juice of one lemon
- 2 large eggs
- 4 tablespoons butter melted
Instructions
- Warm up your waffle iron
- In a liquid measuring cup measure you milk and then add the lemon juice, stir together and let sit.
- In a large mixing bowl, stir together the flour, salt, baking soda, and sugar
- To the liquid measuring cup add the eggs and butter and whisk together
- Pour the wet ingredients slowly into the dry ingredients, mixing together gently until just incorporated, lumps are okay here.
- Follow the manufacturers directions for pouring the batter into the waffle maker and cooking
- If freezing to eat later: either lay out on a baking sheet and flash freeze, or let cool a bit, then stack with parchment paper separator and put into gallon size freezer bag.
- To reheat: pop into the toaster oven until the outside is crisp, but the inside is still soft, about 1 minute. Enjoy with your favorite toppings!
Notes
Nutrition
Want more recipes like this delivered right to your inbox? Be sure to subscribe below and never miss a thing!



Leave a Reply